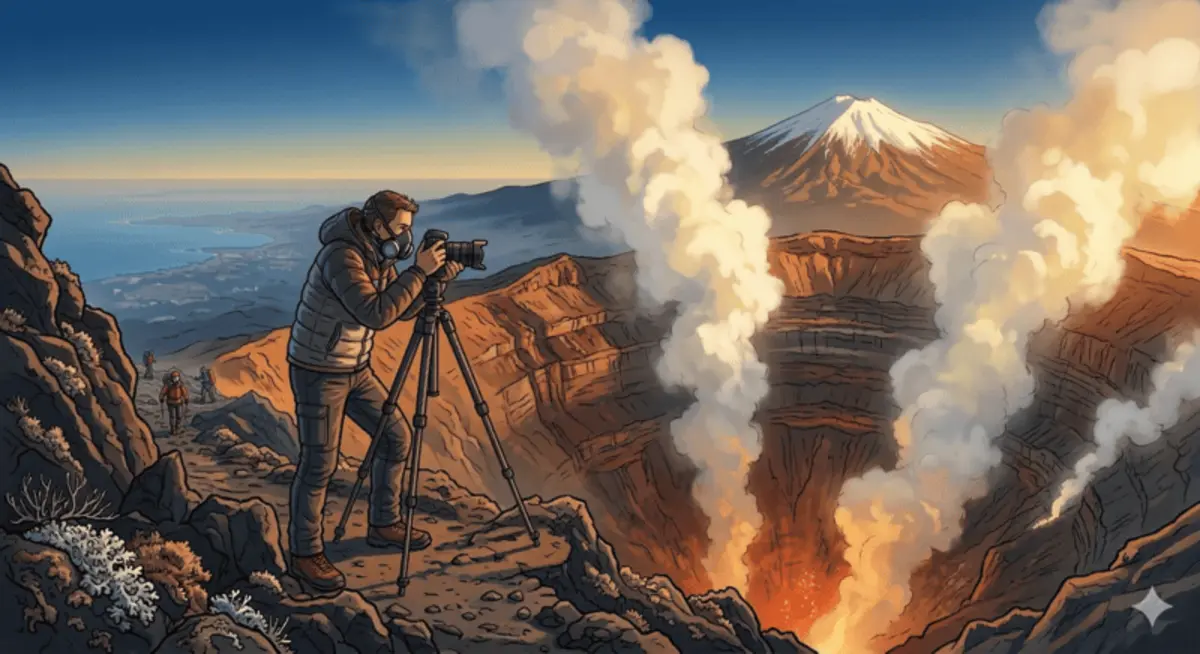
Mount Etna Photography: Best Spots, Light & Practical Tips
Where and when to photograph Mount Etna for the best results — from summit craters to lava flows, sunset light to eruption shots.
Table of Contents
Mount Etna is one of the most photogenic volcanoes on Earth — steaming craters, black lava deserts, and the Mediterranean Sea as a backdrop. Whether you're shooting with a professional camera or a smartphone, the right timing and location make all the difference. Here's what guiding on Etna since 2000 has taught me about getting the best shots.
Best Light Conditions
Light changes with date, cloud, direction and the shape of the terrain. Check sunrise and sunset for your travel date rather than using fixed summer hours. Low-angle light may emphasise crater textures; haze or cloud may soften or conceal them. Photography must fit the booked daytime programme and current access.
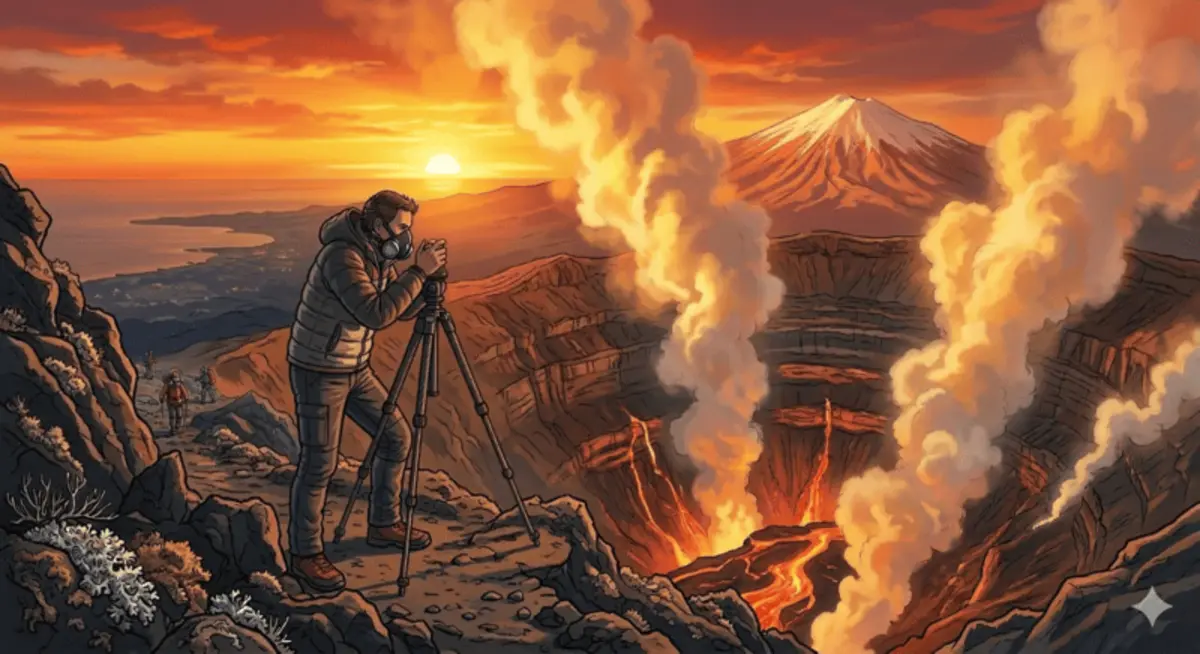
Overcast days are not wasted. Clouds diffuse harsh shadows and make the textures of lava fields pop. Low cloud cover that sits below the summit creates spectacular "sea of clouds" shots, with Etna's peak emerging like an island. Winter offers the best contrast: black lava against white snow under clear blue skies.
Top Photography Spots on Etna
Summit craters: crater shapes, gas emissions and distant views depend on the actual activity, visibility and route permitted that day. A guide does not guarantee a specific viewpoint or clear morning conditions. Keep to the agreed route and do not approach an opening for a stronger composition.
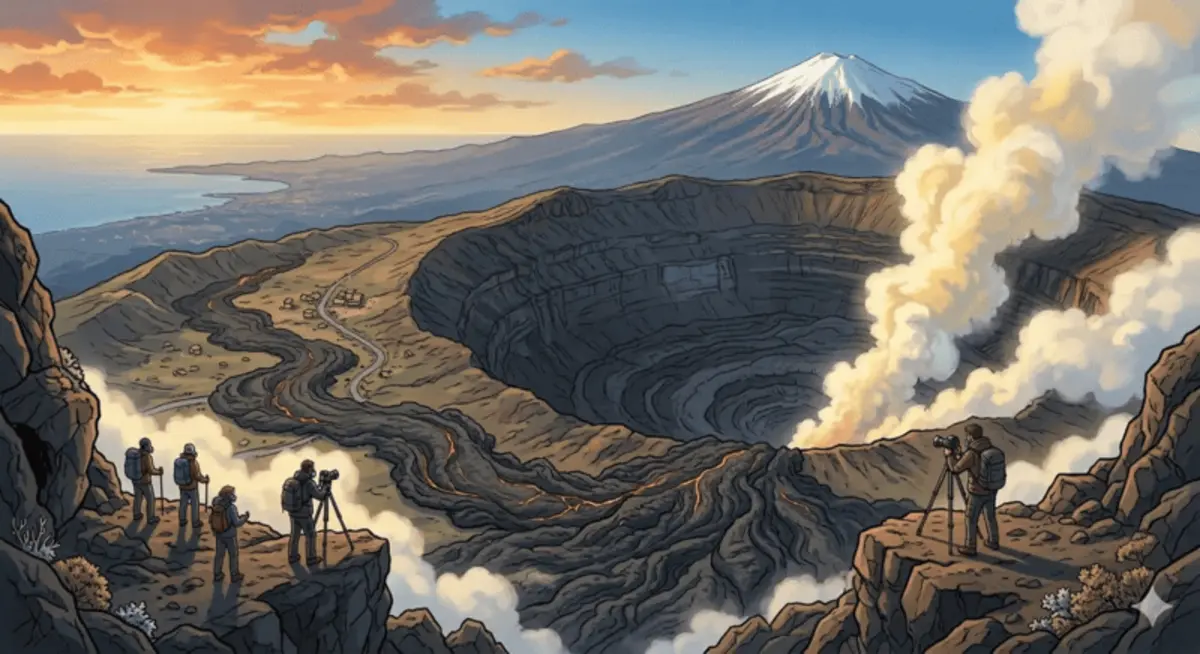
Torre del Filosofo: this name identifies an area of Etna’s upper volcanic landscape. Do not plan a photograph around promised visible ruins: the landscape has been transformed by eruptions. Access and viewpoints depend on current restrictions and the guide’s assessment.
Silvestri Craters: cone shapes and lava textures can make useful subjects. Check current restrictions and ground conditions before visiting; lower altitude does not create an unconditional access right. Avoid stepping off permitted paths or disturbing plants for a photograph.
Valle del Bove: the eastern depression and its walls can offer a sense of scale when visible from a permitted viewpoint. Light and cloud affect the image. Do not invent an approach or descent to reach a position seen in another photographer’s work.
Piano Provenzana: the northern landscape records the 2002 eruption and its impact on tourist infrastructure. Do not plan a photograph around assumed exposed ruins or chairlift remains. Photograph the features actually visible from permitted routes.
Gear Recommendations
For serious photography, bring a wide-angle lens (16-35mm equivalent) for landscapes and a telephoto (70-200mm) for crater detail and eruption shots from safe distances. A polarising filter cuts haze and deepens sky colour — essential at altitude. A sturdy tripod is valuable for sunrise/sunset sessions, but on summit treks the weight trade-off is real: many photographers use a lightweight travel tripod or monopod instead.
Carry spare batteries if useful for your equipment and consult the manufacturer’s temperature guidance. Performance loss in cold weather varies by device, battery and conditions; there is no universal percentage. Protect gear from dust and moisture and balance capacity against the weight you can comfortably carry.
Photographing Volcanic Activity
Incandescence may be easier to photograph against a darker background if eruptive activity, cloud and viewpoint allow it. There is no fixed altitude band where evening lava views are guaranteed. I do not offer sunset or night trips. From a permitted position, choose exposure according to your equipment and the scene; sample camera settings are not an access recommendation.
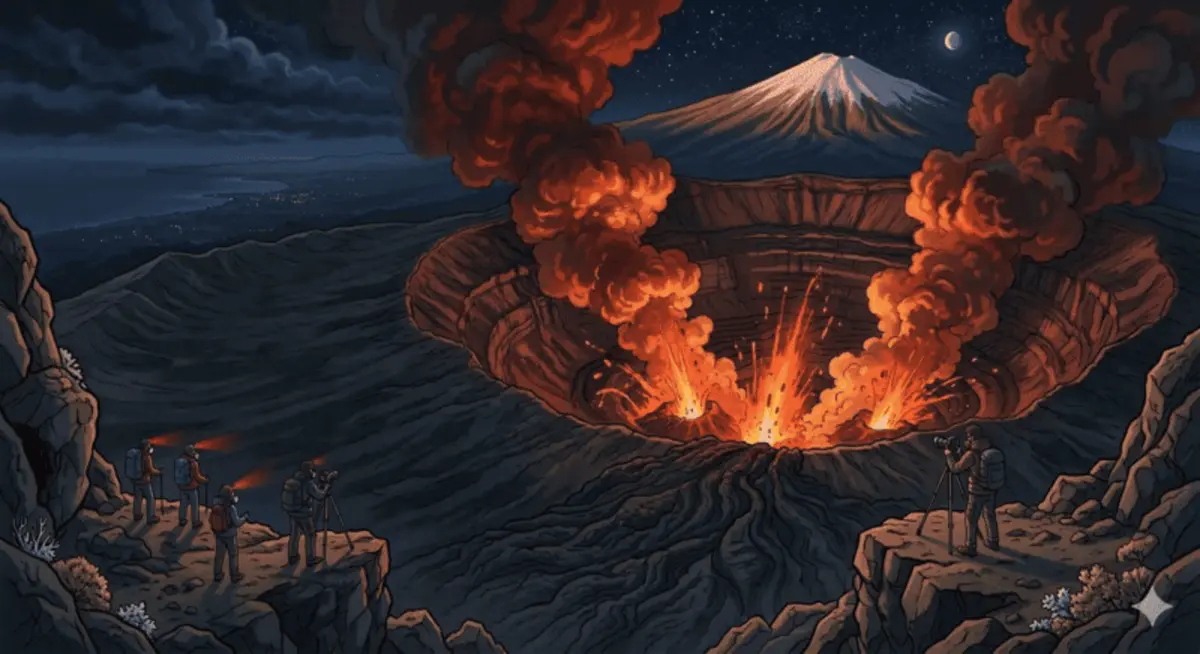
A visible flow is not an invitation to approach. A guide cannot guarantee a safe position beside an active lava front. Respect restrictions and the chosen route; use focal length and composition from the permitted location instead of reducing distance for a photograph.
Smartphone Tips
Modern smartphones do remarkably well on Etna. Use HDR mode for high-contrast scenes (bright sky, dark lava). Night mode captures volcanic glow effectively — hold the phone steady against a rock or backpack for sharper results. Switch to the wide-angle lens for crater interiors and panoramic views. Avoid digital zoom beyond 2x; crop later for better quality.
The biggest smartphone challenge on Etna is glare. The bright volcanic terrain and intense sunlight can make screens unreadable. A peaked hand shade helps, or compose shots using the volume button as shutter release while holding the phone at a viewing angle that reduces glare.
Protecting Your Equipment
Volcanic dust is the enemy of camera equipment. Fine ash particles are abrasive and can damage sensor elements, lens coatings, and moving parts. Keep cameras in a sealed bag when not shooting. Change lenses only when sheltered from wind — or better yet, bring two camera bodies to avoid lens changes entirely.
Volcanic gases can harm people and equipment; a short visit does not make exposure harmless. Avoid the plume and follow the guide’s instructions. Rain and moisture at altitude are more immediate threats. A simple rain cover or plastic bag with a hole cut for the lens protects gear during sudden weather changes, which are common above 2,500 meters.
Sources
- INGV Osservatorio Etneo — summit access conditions and volcanic activity reports
- UNESCO — Mount Etna World Heritage
- Parco dell'Etna — photography access and trail regulations
- Funivia dell'Etna — cable car access for upper-altitude photography
- Collegio Regionale Guide Alpine Siciliane — authorized guides for summit access
Before You Book: Quick Planning Checklist
- Check updated weather and volcanic activity conditions for your travel dates.
- Check the mountain meeting point and the departure time in the calendar. Travel independently with your rental car; no transfer is provided.
- Compare routes, practical details and availability, then use the booking calendar on your chosen tour page.
- Read local safety guidance before excursions.